Nox Player is a powerful Android emulator that allows users to run Android apps and games on their PC. Whether you’re a gamer looking to play multiple game accounts simultaneously or a developer testing apps across various instances, Nox Player provides the tools you need. When paired with the performance of a GPU server, you can significantly enhance your experience, running multiple instances smoothly and efficiently. This guide will walk you through the process of downloading Nox Player and setting it up on a GPU servers to maximize your performance.
What is Nox Player?
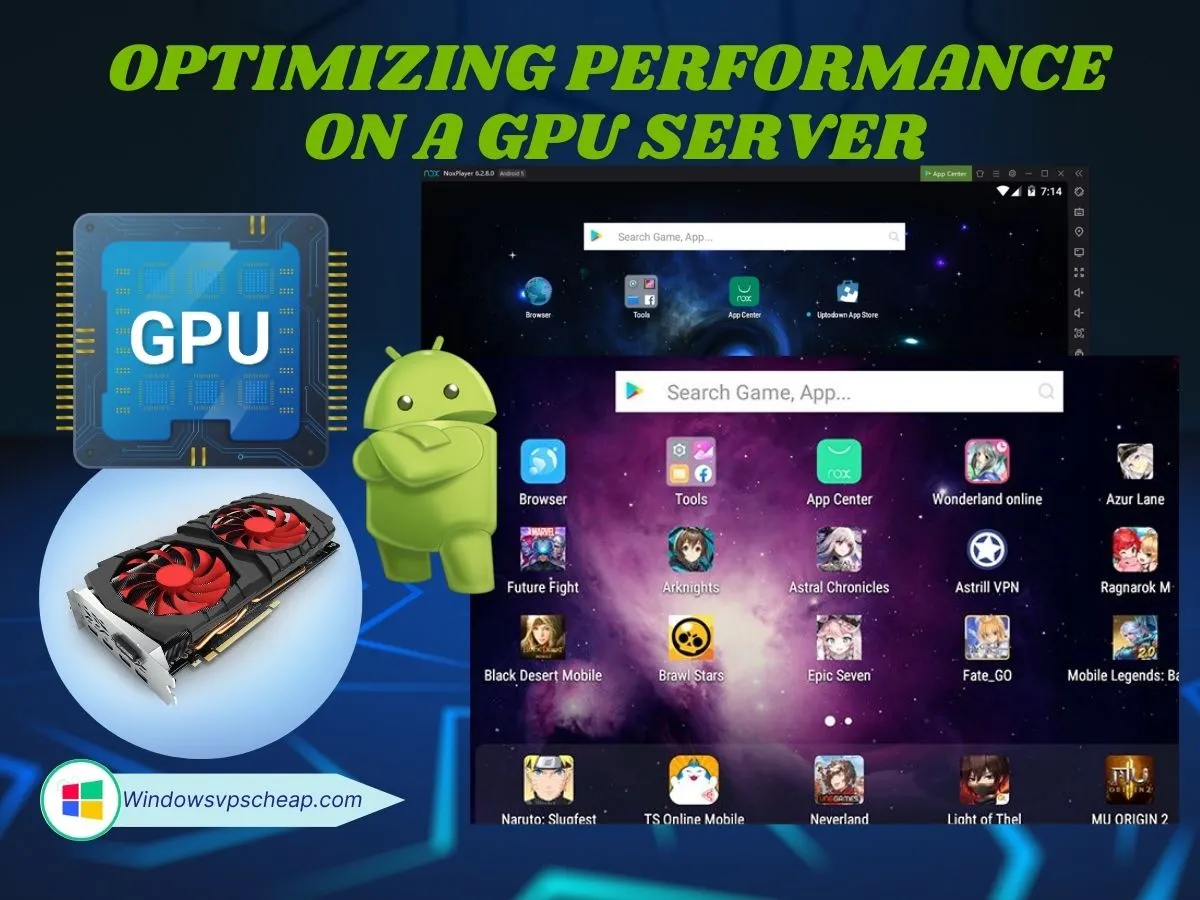
Nox Player is a leading Android emulator known for its user-friendly interface and robust features. It allows you to run Android apps on your PC, providing a seamless experience that closely mimics the Android environment. Some of the standout features of Nox Player include:
Multi-instance management: Run multiple instances of Nox Player simultaneously, perfect for gamers managing multiple accounts or developers testing apps.
Keyboard mapping: Customize your controls to suit your preferences, making gameplay and app navigation more intuitive.
Macro recording: Automate repetitive tasks by recording and replaying actions.
Nox Player is designed for both casual users and professionals, making it a versatile tool for a wide range of applications.
Why Use a GPU Servers?
A GPU server offers significant advantages when running multiple instances of Nox Player. GPU servers are equipped with powerful graphics processing units (GPUs) that handle tasks involving high computational power, such as rendering graphics or running multiple processes concurrently. By using a GPU server, you can:
Enhance performance: Experience faster load times, smoother gameplay, and reduced lag.
Run multiple instances effortlessly: A GPU server’s powerful resources allow you to manage several instances of Nox Player without overloading your system.
Optimize resource usage: Efficiently allocate CPU and GPU resources across multiple instances, ensuring that each instance runs at its best.
Preparing for Installation Nox Player
Before you start, ensure that your system meets the requirements for running Nox Player and that you have access to a GPU server. Here’s what you need:
System Requirements:
- CPU: Multi-core processor
- RAM: At least 8 GB (more is recommended for multiple instances)
- Storage: SSD for faster performance
- GPU: A dedicated GPU is essential for running multiple instances smoothly
Choosing a GPU Server:
Recommended Specifications: Look for a server with a high-performance GPU (such as NVIDIA), sufficient RAM, and multiple CPU cores.
Cloud GPU Providers: Websites like Windowsvpscheap offer affordable and reliable GPU servers that are ideal for running Nox Player.
Downloading and Installing Nox Player
The process of downloading and installing Nox Player is straightforward, designed to be user-friendly, even for those who may not be tech-savvy. Here is a concise yet detailed guide to achieving a successful installation. Follow these steps to download and install Nox Player on your local machine or GPU server:
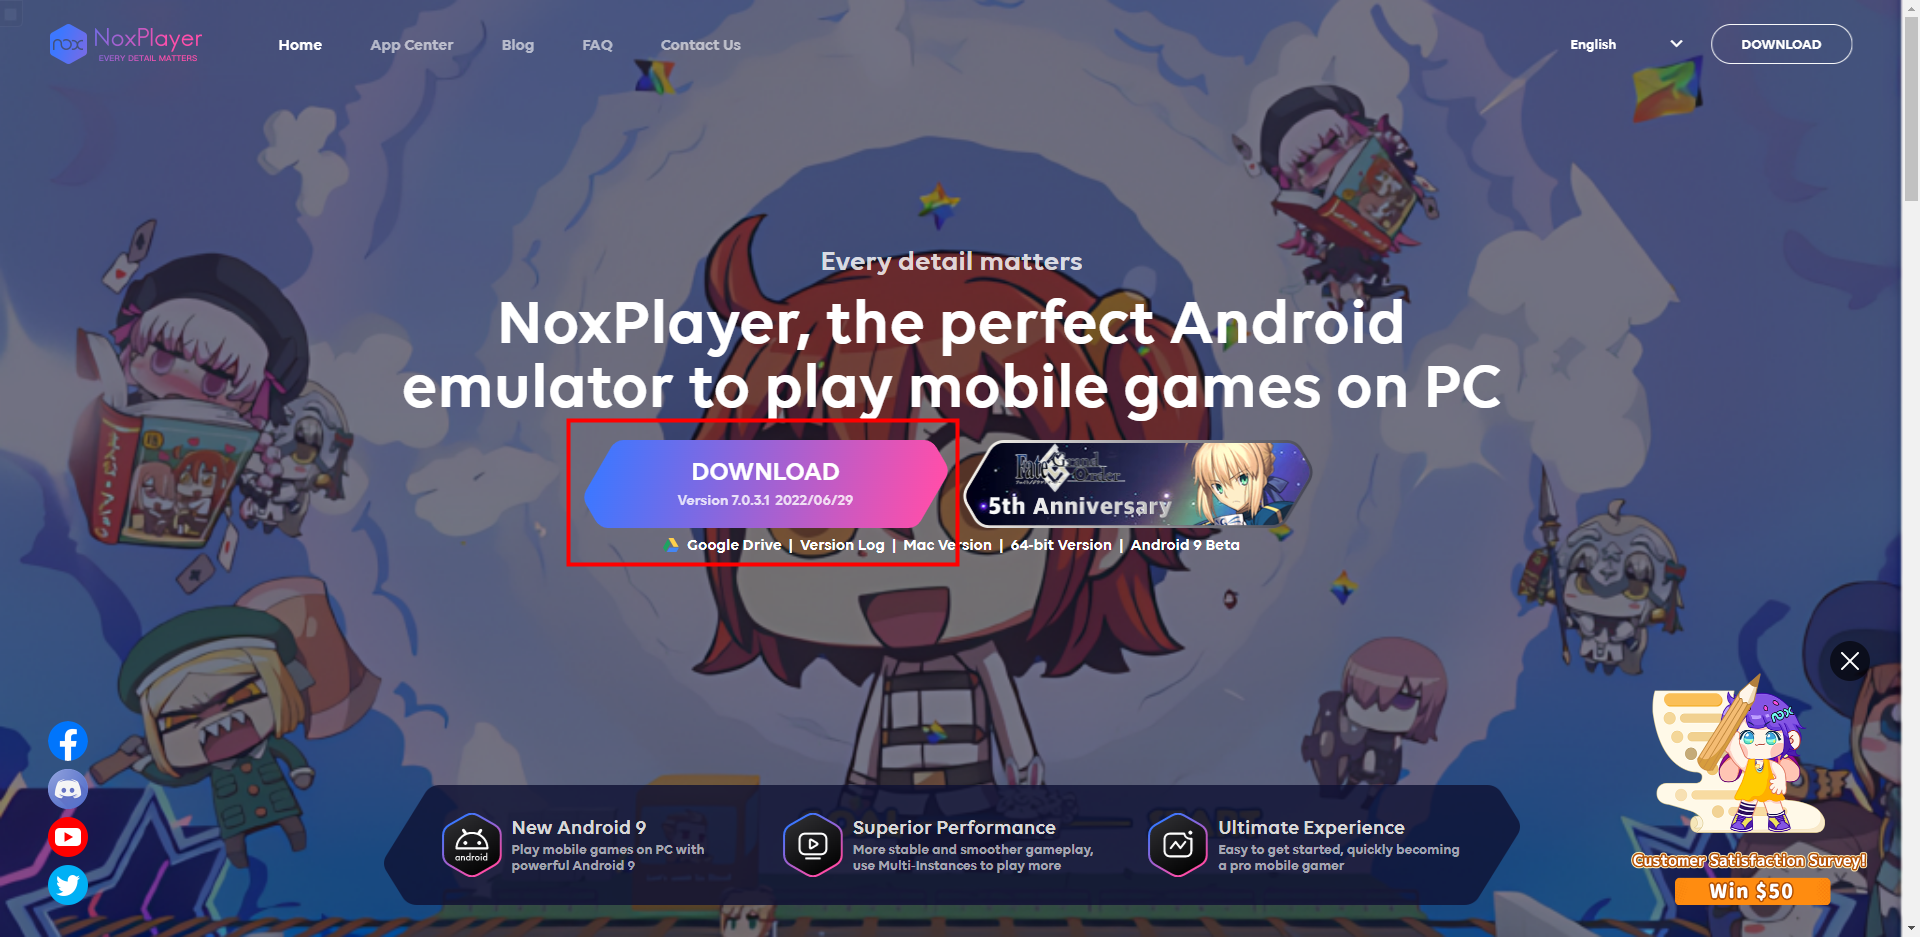
You choose donwload here and download the latest version compatible with your operating system.
Install Nox Player on a Local Machine: Run the downloaded installer and follow the on-screen instructions.
Install Nox Player on a GPU Server:
Access Your GPU Server: Use remote desktop software to connect to your GPU server.
Transfer and Install: Transfer the Nox Player installation file to your server and install it as you would on a local machine.
Configuring Nox Player for Optimal Performance
After installation, launch Nox Player and proceed with the initial setup. To optimize performance on a GPU server:
Adjust CPU and RAM Allocation: In Nox Player settings, allocate more CPU cores and RAM to maximize performance, especially when running multiple instances.
Enable GPU Settings: Ensure that Nox Player is configured to utilize your GPU by enabling the appropriate settings under the ‘Performance’ tab.
Running Multiple Instances with Nox Player
The Multi-instance Manager within Nox Player is a powerful tool that enables users to create and manage multiple instances of the emulator effortlessly. Each instance replicates a separate Android environment, allowing users to log in to different accounts or access multiple applications simultaneously.
To access the Multi-instance Manager, users can either click the corresponding icon in the toolbar or double-click the Multi-drive shortcut found on the desktop. Once inside, you can conveniently manage the various instances you have created, making multitasking highly manageable.
Creating and Managing Multiple Instances
Creating and managing multiple instances using Nox Player’s Multi-instance Manager is both simple and intuitive. Here’s how it works:
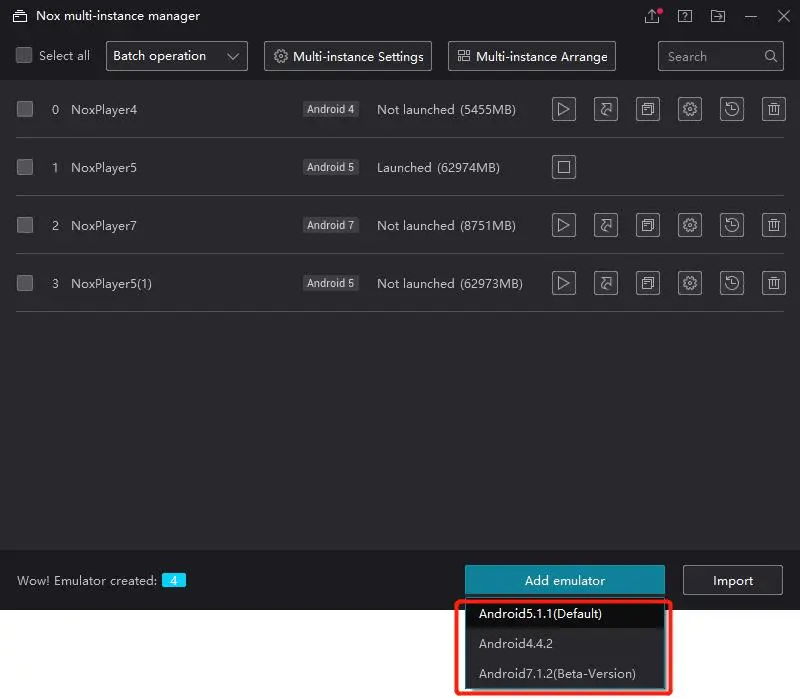
Open Multi-Instance Manager: Access the Multi-instance Manager via your desktop shortcut or from the Nox Player menu.
Add New Instances: Click on the “Add Emulator” button, then select the desired Android version (multiple versions supported, ranging from Android 4 to 9). The instance will automatically download and install.
Duplicate Instances: Use the “Copy” icon to duplicate any existing instance easily. This feature allows for efficient setup of accounts or applications that share similar configurations.
Renaming Instances: For better organization, rename any instance by hovering over it and clicking the pencil icon that appears.
Running Instances: To start an instance, select it in the Multi-instance Manager and click the Start button. Each instance operates independently, allowing for simultaneous use.
Synchronize Instances: Use the synchronization feature to control all instances simultaneously, a useful tool for gamers who need to perform the same actions across multiple accounts.
By seamlessly navigating the Multi-instance Manager, users can maximize their gaming or development sessions, tailoring their experience to fit distinct needs across various applications.
Optimizing Performance on a GPU Servers
To fully leverage the power of a GPU server, follow these tips:
Enable GPU Acceleration: In Nox Player settings, ensure GPU acceleration is enabled to take full advantage of your server’s resources.
Optimize Settings for Specific Applications: Depending on the apps or games you are running, tweak the settings for each instance to ensure optimal performance.
Monitor Resource Usage: Regularly monitor CPU, GPU, and RAM usage to ensure that your server is handling the load efficiently. Adjust resource allocation as needed.
Troubleshooting Common Issues
Even with a well-configured setup, you may encounter some issues. Here are common problems and their solutions:
Installation Errors: Ensure your server meets all requirements. Reinstall Nox Player if necessary.
Performance Issues: Adjust resource allocation or reduce the number of instances if performance lags.
Connectivity Problems: Verify your network settings and firewall configurations on the GPU server.
Conclusion
Using Nox Player on a GPU server can greatly enhance your Android emulation experience, providing you with the power to run multiple instances smoothly and efficiently. By following this guide, you can set up Nox Player on a GPU server and optimize it for peak performance, whether for gaming or app development. Explore the full potential of Nox Player today and enjoy the benefits of a high-performance GPU server. By leveraging the power of Nox Player and a GPU server, you can enjoy a superior Android emulation experience, whether for gaming, testing, or productivity.
For those in search of reliable and affordable GPU servers, Windowsvpscheap is a trusted provider that offers top-notch servers optimized for running Android emulators like Nox Player. With their robust infrastructure and excellent customer support, you can ensure your emulation setup runs smoothly and efficiently.
To stay updated with more tutorials and tips on optimizing your Android emulation experience, be sure to follow our blog. Thank you for being a part of our community, and we look forward to providing you with more valuable content in the future!
CATEGORY:GPU VPS
