In today’s digital age, securing your Virtual Private Server (VPS) is more crucial than ever. One effective way to bolster your VPS security is by changing the default port used for Remote Desktop Protocol (RDP). By default, RDP uses port 3389, which is commonly targeted by cyber attackers. This guide will walk you through the steps to change the default Windows port, enhancing your VPS security.
Why Change the Default RDP Port?
Changing the default RDP port is a simple yet effective security measure. Here are some reasons why you should consider it:
Reduce Exposure to Attacks: Hackers often scan networks for devices using default ports. Changing the RDP port can reduce the likelihood of your server being targeted.
Mitigate Brute Force Attacks: Brute force attacks involve trying many combinations of usernames and passwords. Changing the port adds an additional layer of complexity, making it harder for attackers to gain access.
Compliance Requirements: Some security standards and regulations may require changing default ports as part of best practices for securing network services.
Prerequisites
Before you start, ensure you have:
- Administrator access to your Windows VPS.
- A backup of your VPS in case something goes wrong.
- Remote Desktop Connection access to your VPS.
Step-by-Step Guide to Changing the Default Windows Port
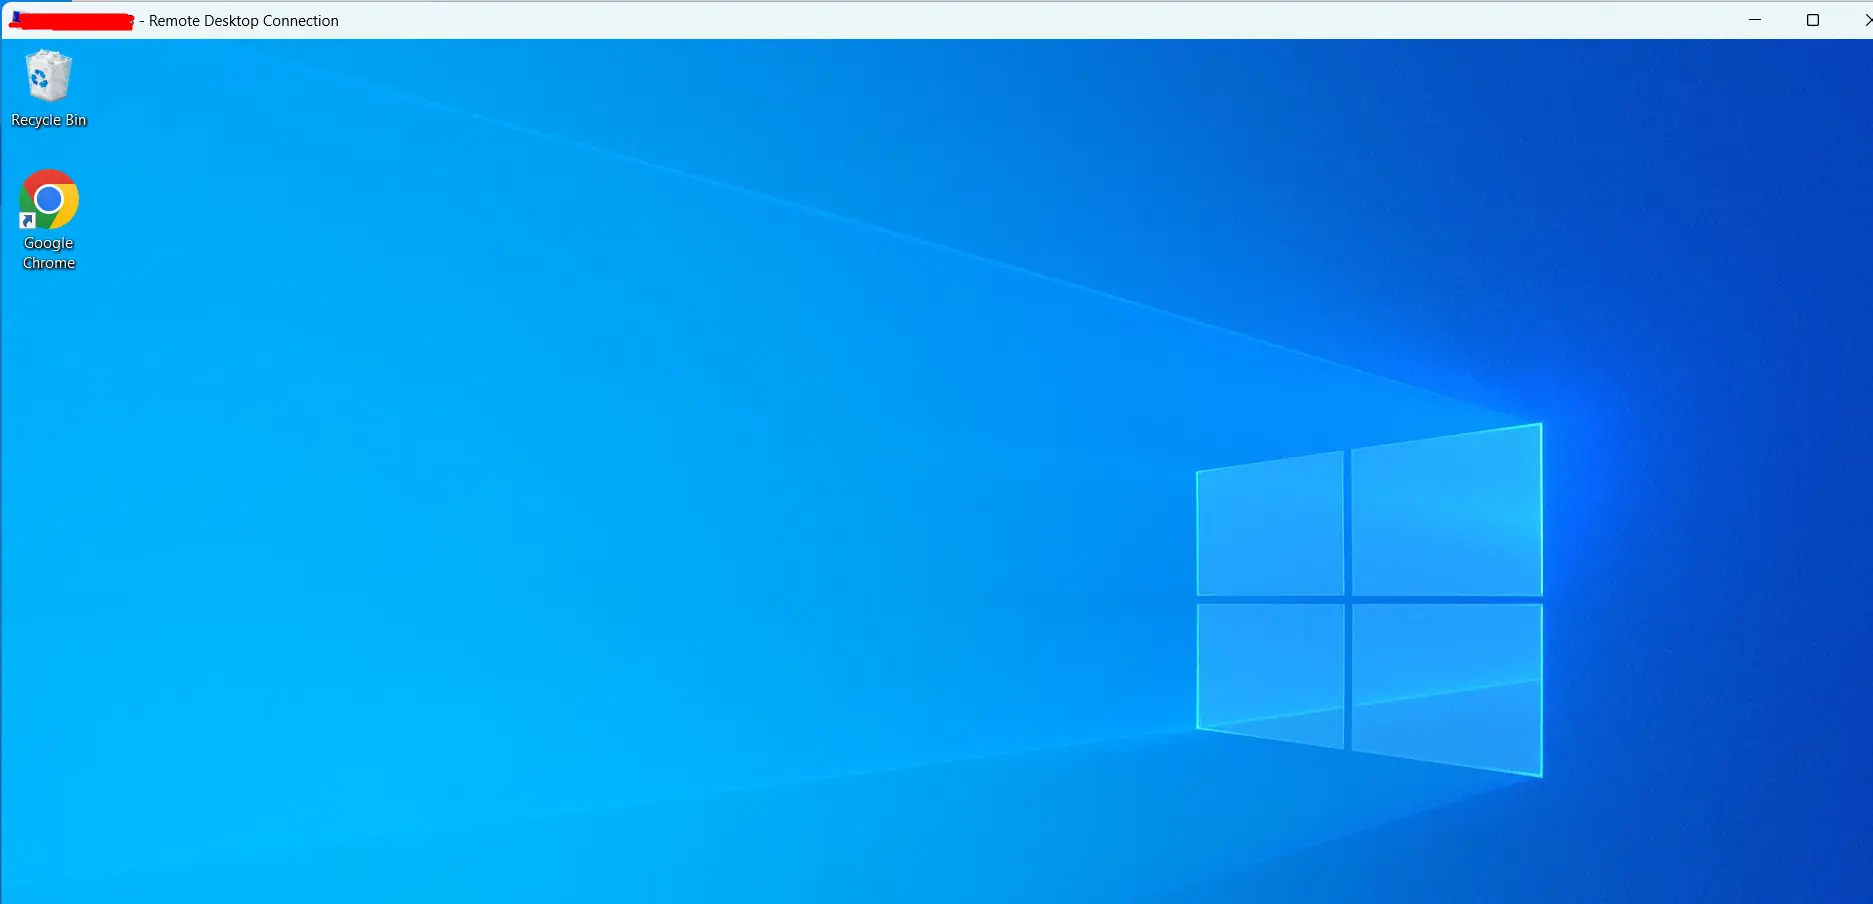
Step 1: Access Your VPS
To log into your VPS, open the Remote Desktop Connection on your local machine and enter the IP address of your VPS followed by a colon and the port number. Click “Connect” and enter your VPS login credentials Username and Password.
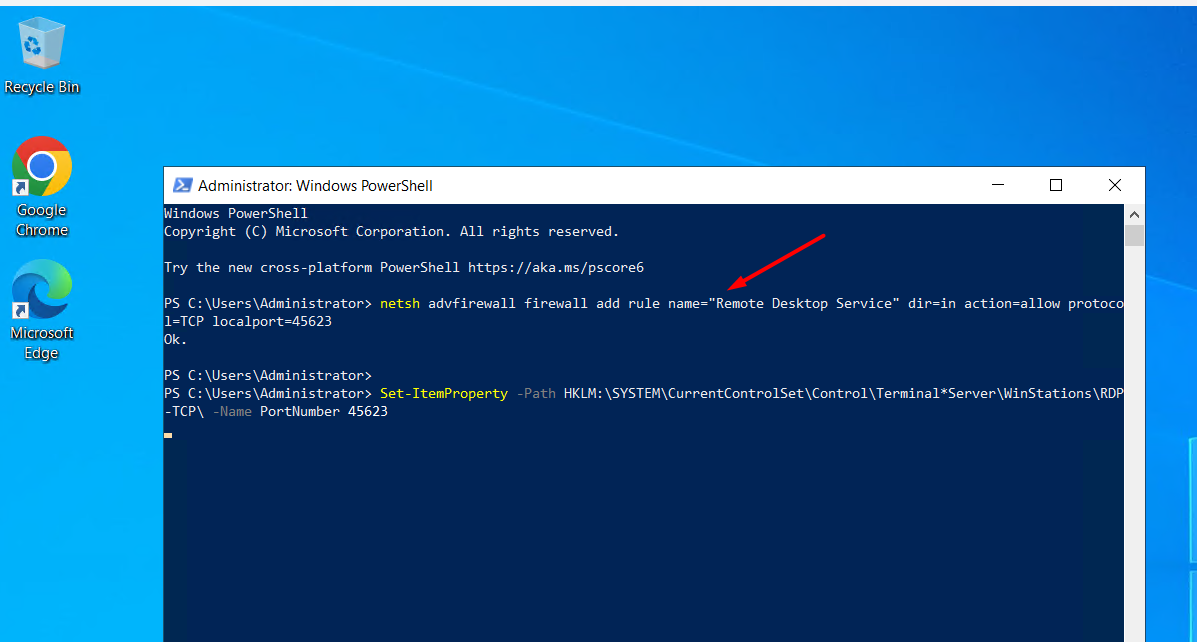
Step 2: Change Port For Windows VPS Via Command Line
Click Start and select Windows Powershell. Then, copy the command line below and paste the copied code into the VPS’s PowerShell. (Right click on an empty area on the Powershell window to execute the command).
netsh advfirewall firewall add rule name=”Remote Desktop Service” dir=in action=allow protocol=TCP localport=45623
Set-ItemProperty -Path HKLM:\SYSTEM\CurrentControlSet\Control\Terminal*Server\WinStations\RDP-TCP\ -Name PortNumber 45623
shutdown /r /t 0
Write-Warning “Start restarting your VPS, try again with the new Port after 30 seconds, best regards Windowsvpscheap”
Note: Port 45623 can be changed to any number between 5000 and 65000. You should choose it randomly for service security. When changing the port, remember to replace it completely because there are two places you must enter the port in the code above. Once completed, your VPS will automatically restart and you can log in again after 30 seconds.
Change the default port of Windows VPS
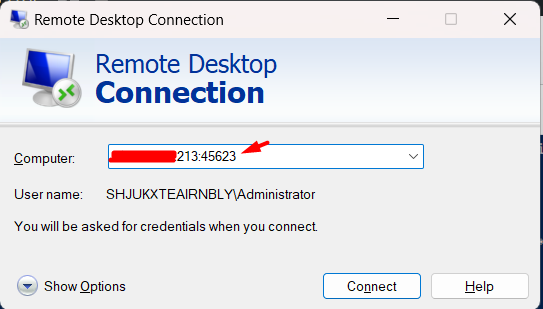
Step 3: Reconnect Using the New Port
Login into the VPS with information including the old IP + port new “:45623” extension, as shown below:
By following these steps, you have successfully changed the default RDP port on your Windows VPS, enhancing its security against unauthorized access and common cyber threats. Additionally, ensure that you use strong passwords and regularly update your system to maintain optimal security. These measures will help keep your VPS secure and running smoothly.
Frequently Asked Questions (FAQs)
Q1: Can I use any port number for RDP?
Yes, you can use any port number between 1025 and 65535. However, avoid using ports commonly used by other services to prevent conflicts.
Q2: What should I do if I can’t reconnect to my VPS after changing the port?
Ensure the new port number is correctly configured in both the registry and firewall settings. If issues persist, you may need to revert to the default port by accessing the VPS console provided by your hosting provider.
Q3: Is changing the default RDP port enough to secure my VPS?
While changing the RDP port enhances security, it should be part of a broader security strategy that includes strong passwords, firewalls, regular updates, and other best practices.
Conclusion
By changing the default RDP port on your Windows VPS, you add an extra layer of security to your server. This simple yet effective step can significantly reduce the risk of unauthorized access and cyberattacks. Always remember to keep your server updated and follow other best practices for securing your VPS.
Wish you a productive working day, and if you have any questions or requests regarding the VPS, please contact WindowsVPSCheap Customer Support for guidance.
Sincerely thank you!
CATEGORY:Windows VPS
